How To Install Shelf Supports
Learn how to install shelf supports in under 4 minutes using Vanguard’s system. Any classic configuration can be built, such as shelving for garage, pantry and closet.

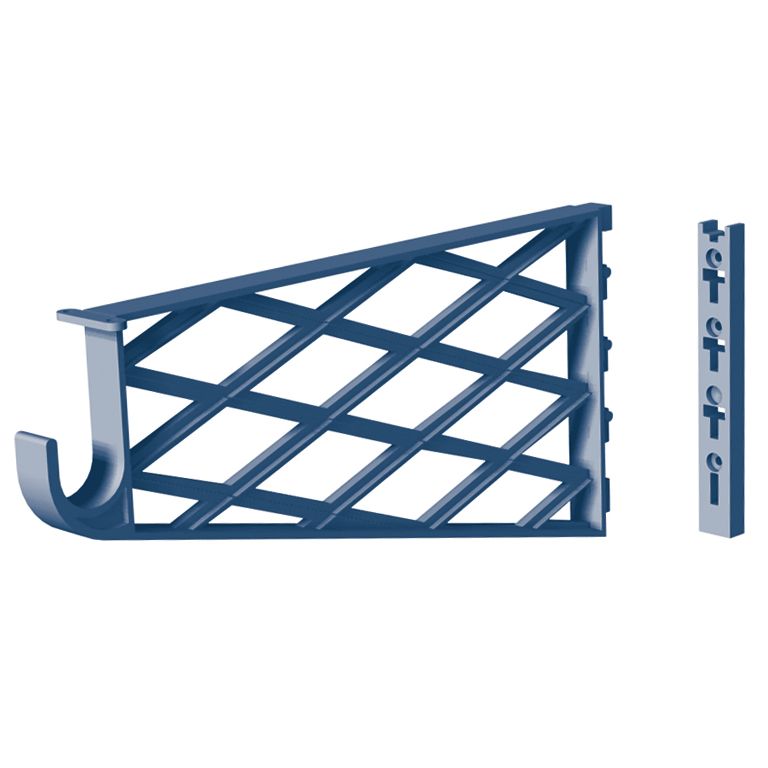
1. On the side wall of the closet, measure desired shelf height and mark location. Place support at marked height with open end touching back wall (Supports mount directly to drywall no need to locate studs).
2. Using the holes in the support as a guide, drill 3/8″ holes.

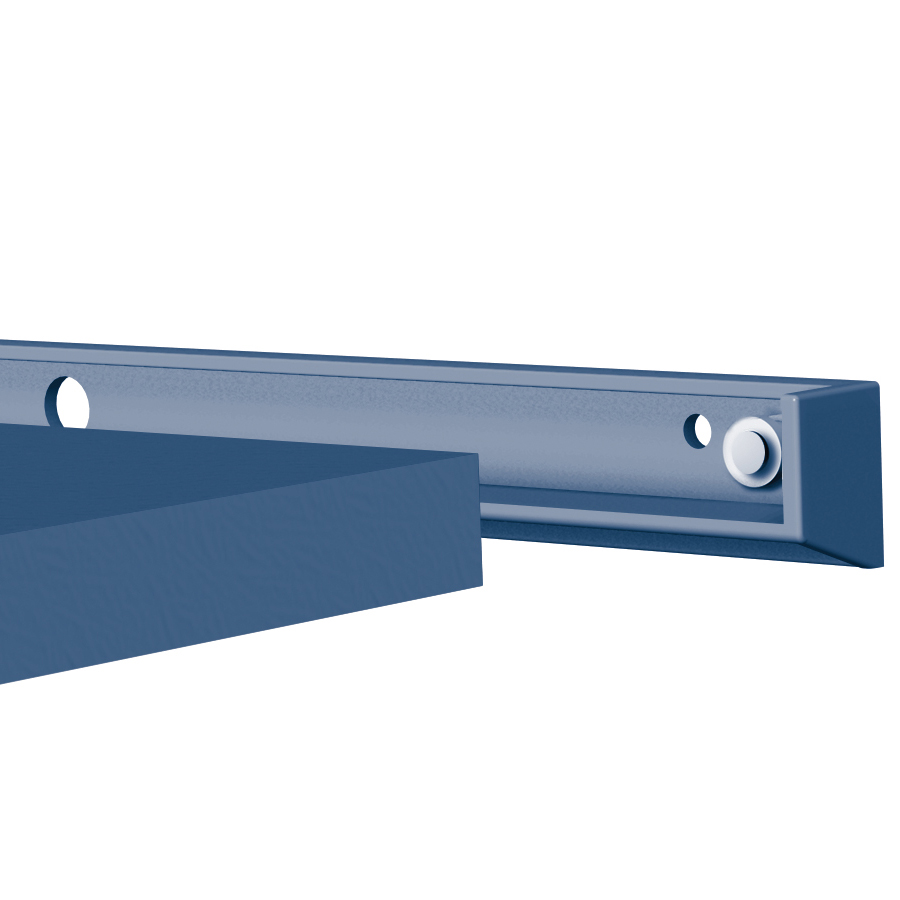
3. Press drywall plugs through the support and into drilled holes until drywall plugs lock into place.
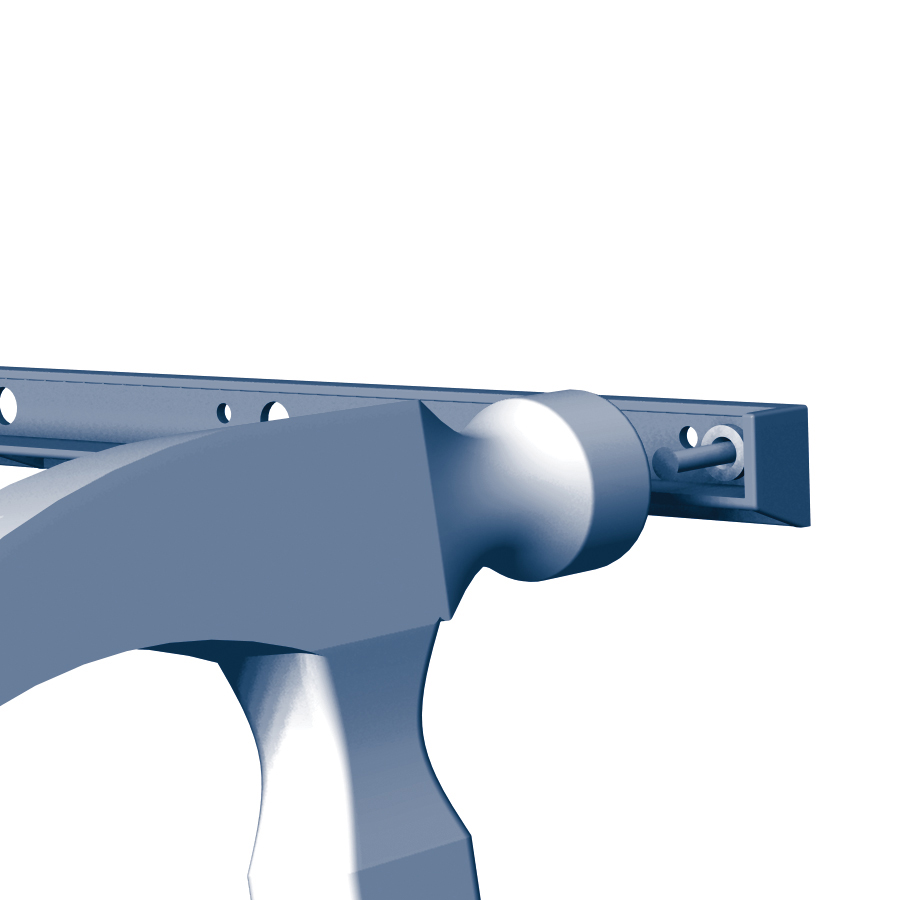
4. Insert spread pins into center of drywall plugs, hammer in.
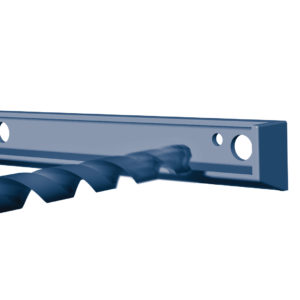
5. Cut the shelf 3/8″ shorter than the width of the back wall of the closet and place shelf in the support. Your shelf is finished!
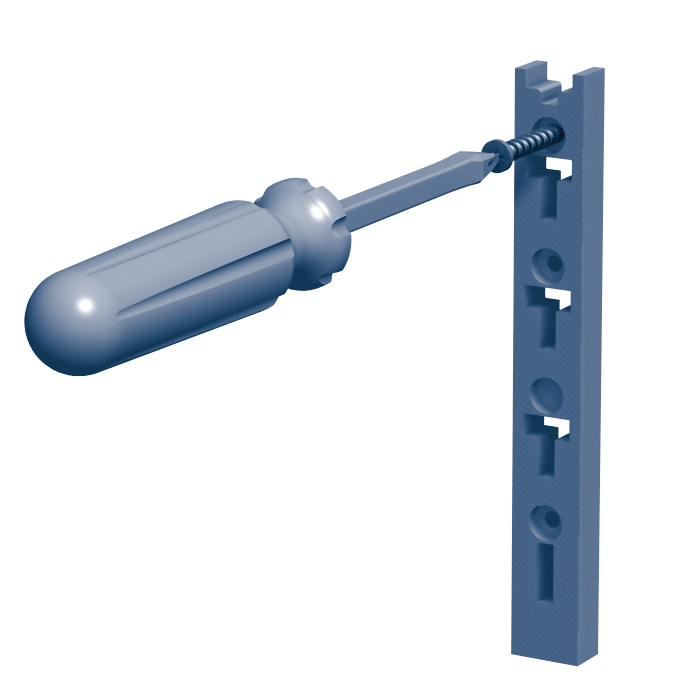
1. Locate stud in back wall. Measure to desired shelf height and mark location. Secure back plate to stud with wood screws.
2. Next, snap the bracket into the back plate. This conceals mounting screws for a clean finished look.
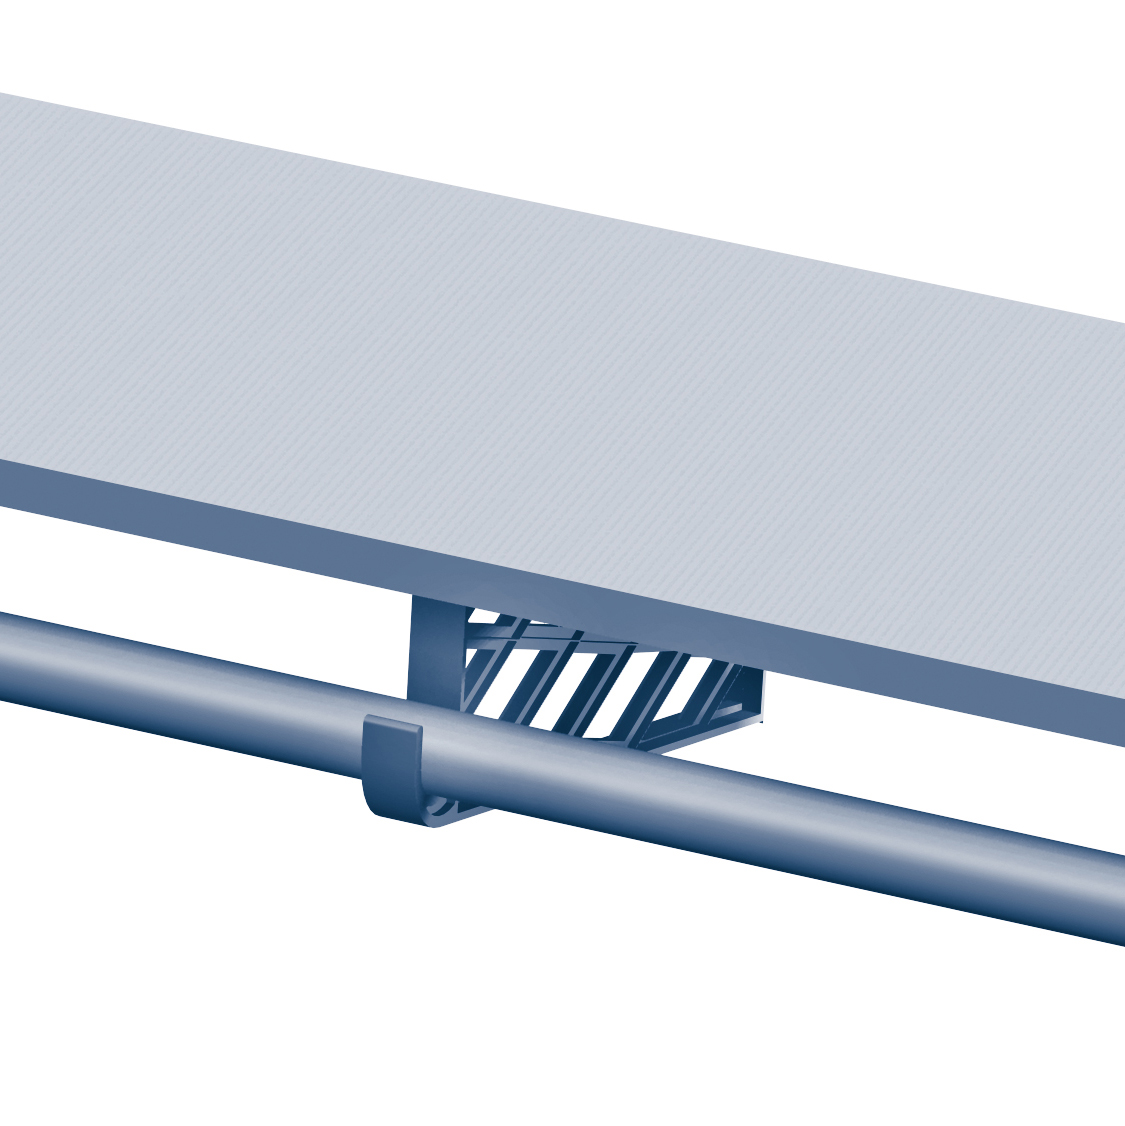
3. Place the shelf on the bracket and secure it by fastening wood screws through the holes in the wings at the top of the bracket.
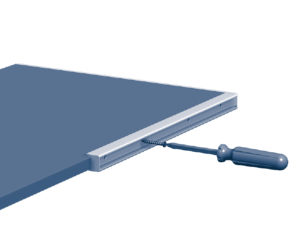
1. First, install one of the shelves, then position joiner onto front edge of that shelf (countersunk holes facing out). Next, slide the joiner until end is touching wall/support. Screw joiner to front of shelf.
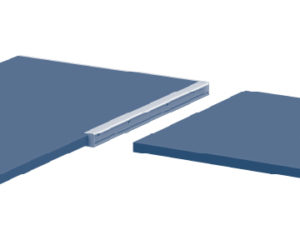
2. Measure andcut adjoining shelf to length and slide into-position. Joiner itself may be cut to fit width of adjoining shelf.